


How to find the best Etsy keywords in 3 simple steps using Alura
If you want to be found in search results on Etsy, you need to optimize your product listing for SEO. And if you want to


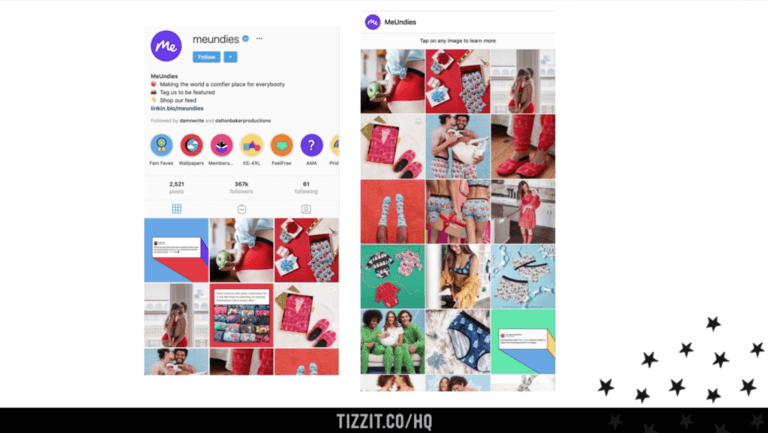
If you want to be found in search results on Etsy, you need to optimize your product listing for SEO. And if you want to
There has been a lot of talk in the Etsy community — and I mean A LOT of talk — about Etsy’s payment account reserve
Anyone who knows me knows that I am a HUGE advocate for using email marketing to grow and scale your handmade business. But you may


Sign up below and get instant access to a collection of FREE practical guides, workbooks, and checklists that will help you start, grow and profit from your handmade shop. (without pulling your hair out!).

4-step Maker’s Roadmap System
Library of In-Depth Courses and Training
Live Monthly Coaching Sessions
A Supportive Online Community


close
We hate spam too. Unsubscribe at any time.

close
We hate spam too. Unsubscribe at any time.
close
We hate spam too. Unsubscribe at any time.


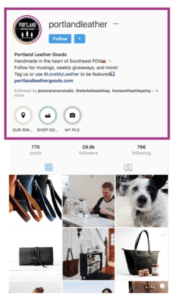
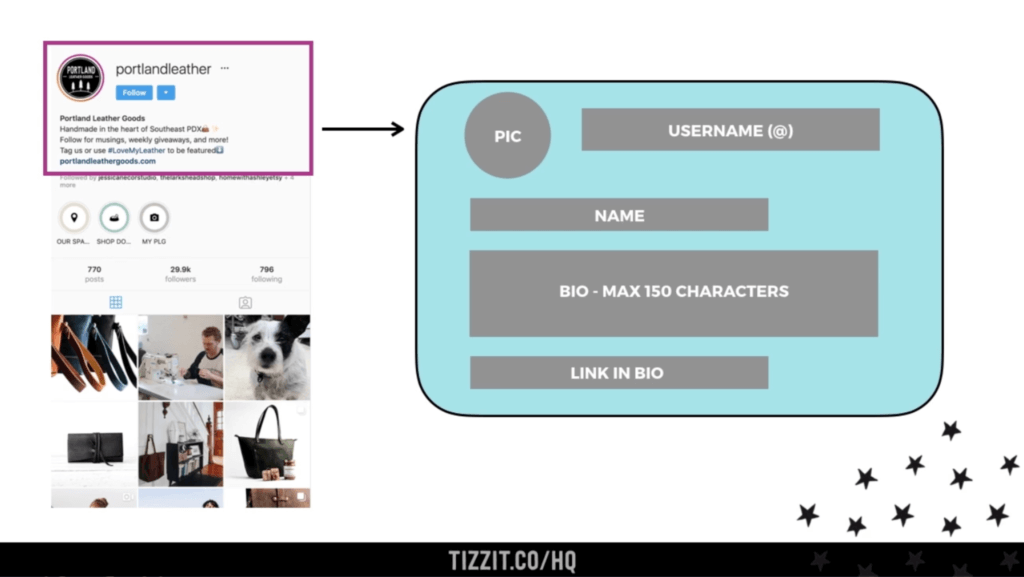
Hello, I am having my own handmade earrings business on Instagram but I haven’t added a bio about it. I have learned tips to create a perfect bio and now I will surely make it. Thanks for the comprehensive article.
This article is an absolute gem! Crafted with easy-to-follow steps, it guides both new and experienced shop owners on how to create a captivating Instagram bio that will surely attract more followers. The tips and tricks provided not only help to showcase your unique brand personality but also make a lasting impression on potential customers. With the valuable insights shared here, I’m confident I’ll be able to take my shop’s Instagram presence to new heights. Thank you for sharing your expertise! Nicholas Jensen
Thank you for your kind words, Nicholas!! We’d love to hear about your shop and how crafting your instagram bio took your shop to new heights!
What a great article this was! Written directly, this provides help for both first-time and existing shop owners on how they can craft an impressive Instagram bio that gets them more following.
Thank you, Camila!