
How to find the best Etsy keywords in 3 simple steps using Alura
If you want to be found in search results on Etsy, you need to optimize your product listing for SEO. And if you want to
join
join
Before we get started with the six-step process, I want you to keep in mind when you go through it with your checklist: “what am I trying to achieve with this image? Where is this picture going to be used? Is it on my handmade shop or is it on Instagram? Do I need to do this step? Do I need this adjustment?” If yes, then do it and tick it off your checklist. If no, then tick it off and move to the next step.
This step is quite straightforward. It’s a matter of cropping and resizing your image so that it works for whatever use you’re going to make of it. If it’s going to be a picture that you upload on Instagram, do you need it to be cropped into a square? If it goes on to your online shop, what kind of ratio do you need there? You might also need to adjust and use the rotation tool in your app to make sure that your picture is correctly aligned in case it’s a little bit wonky.
Step two is quite important and it is all about adjusting your white balance. This is something that I’ve talked about in more details in another blog post. If you want to dive into it and really understand what white balance even is and how to make sure that you avoid this problem in the first place when you’re taking the picture, click here.
Back to editing. If you realize during editing that the photo you just took is a little bit yellow, blue or purple instead of white, then you need to adjust your white balance (I’ve done that many times). It’s really important because you want the colors in the picture to be accurate and look like what they look like on your product in real life. Especially when you sell online, you don’t want people to receive something and think: “that looks different to what I thought I was getting!”. To fix that, you need to go into the “white balance” settings and adjust that to make sure that you don’t have a color cast that is blue or yellow on your picture.

e-com sales on tap training
simple step-by-step plan to grow your online store sales into a consistent and predictable income with the Reliable eCom Sales System
The first question you want to ask yourself here is: “is my photo too dark or too bright?”. If the answer is yes and it’s a whole photo (not just one area of the picture) then you might need to make some adjustment of exposure or brightness. It will be called differently depending on your app, but it’s usually called either “exposure” or “brightness”. If your picture is too dark, you put the brightness up and if it is too bright, you lower that a little bit so that it becomes a little bit darker.
If only some areas of your photo are too dark or too bright, then you need to look into the “highlights” and “shadows” settings. The shadows setting is going to darken or lighten only the shadows in your image. The highlights setting is going to darken or lighten only the highlights in your photos (so only the bright areas). I’m showing you an example in the video above (starting at 4:13) so it’s easier to understand.
By now we’ve cropped and rotated our image, we fixed the white balance and we’ve also made some light adjustments. Now we’re really down to the details, and that’s what step four is about. Is there any dust, scratch or stain on your background or on your product that you want to remove? Of course, only fix those things if the product that you are selling does not have it. If it’s part of the design and the customer is going to receive that scratch, then you want to leave that in. If it isn’t a part of the product you do want to remove it, this is when you need to look at the “healing” or a “healing brush” tool. This tool takes a sample of an area surrounding the detail you want to remove and uses it to “erase” the little imperfection.
The next question you want to ask yourself is: “are there any local adjustments that I want to make in my picture?” If so, you need to look at the “brush” tool. It allows you to brush over only a certain area of your image and apply changes just to this area. You can, for example, increase the exposure just on one side of an image and the rest of the picture won’t get affected at all. If you have any other adjustments that you want to make in just a part of your photo, the brush tool is your friend.
Step five is about optional last tweaks. I want to be clear – everything is optional, you only need to adjust what needs to be adjusted. I just really want to emphasize that you might not need to use them as much as the other tools that I’ve introduced to you today. You want to make sure that you only use them when it’s maybe for social media or for your website, but not for your product pictures. These tools are going to change the colors or the texture of your products, and that’s not something you want to do when trying to sell it online. Again, we want the picture to be realistic so that your customers know what they’re actually buying.
The first one of these tweaks is saturation. It’s a tool that you can use to increase the intensity of your colors. You can make your colors more vibrant or create a photo that will look black and white.
The next tool you might want to consider is the “sharpening” tool, sometimes also called “clarity” or “details”. It increases the level of details in your picture. When you push it down, it will kind of blur out the details and if you push it up, it will actually make those details a bit more obvious. The risk here is that if you push it up too high, you will start losing the quality of your image and start seeing what’s called grain. I really wouldn’t recommend that you overuse this and just as the saturation tool only use it when there’s a specific reason why you want to use it or you’re after this type of special effect and mood.
Finally, we have to talk about filters. If you do want to use a filter for your pictures, this is the right time to do that. With filters, I only recommend you use them when it is not a picture that you’re going to use for a product photo on your online shop. For those pictures, again, you really want the colors to be the real colors and using a filter on those is not a good idea. For social media though, if you want to add a filter – and I would recommend you only use one if you want to keep your feed and images consistent and on brand – then this is when you would want to go ahead and apply it.
Finally, our last step – saving and exporting your photo. A couple of tips here:
Finally, when that’s all done, export, save and upload your picture wherever you want to use it. That’s it! I hope this was helpful. Don’t forget to download your free checklist! And if you need more help when it comes to taking product photos of your handmade products, take a look at Tizzit HQ where you can find full courses on that topic (and many more!).
you might also like…
related articles

If you want to be found in search results on Etsy, you need to optimize your product listing for SEO. And if you want to
There has been a lot of talk in the Etsy community — and I mean A LOT of talk — about Etsy’s payment account reserve

Anyone who knows me knows that I am a HUGE advocate for using email marketing to grow and scale your handmade business. But you may
disclaimer
subscribe to youtube
THE LAUNCHPAD
get in touch
We acknowledge and give thanks to the Budawang and Yuin people, the Traditional Owners of the land we work and live on. We pay our respects to all Aboriginal and Torres Strait Islander Peoples and elders past, present and emerging.

learn how to grow your online store sales into a consistent and predictable income
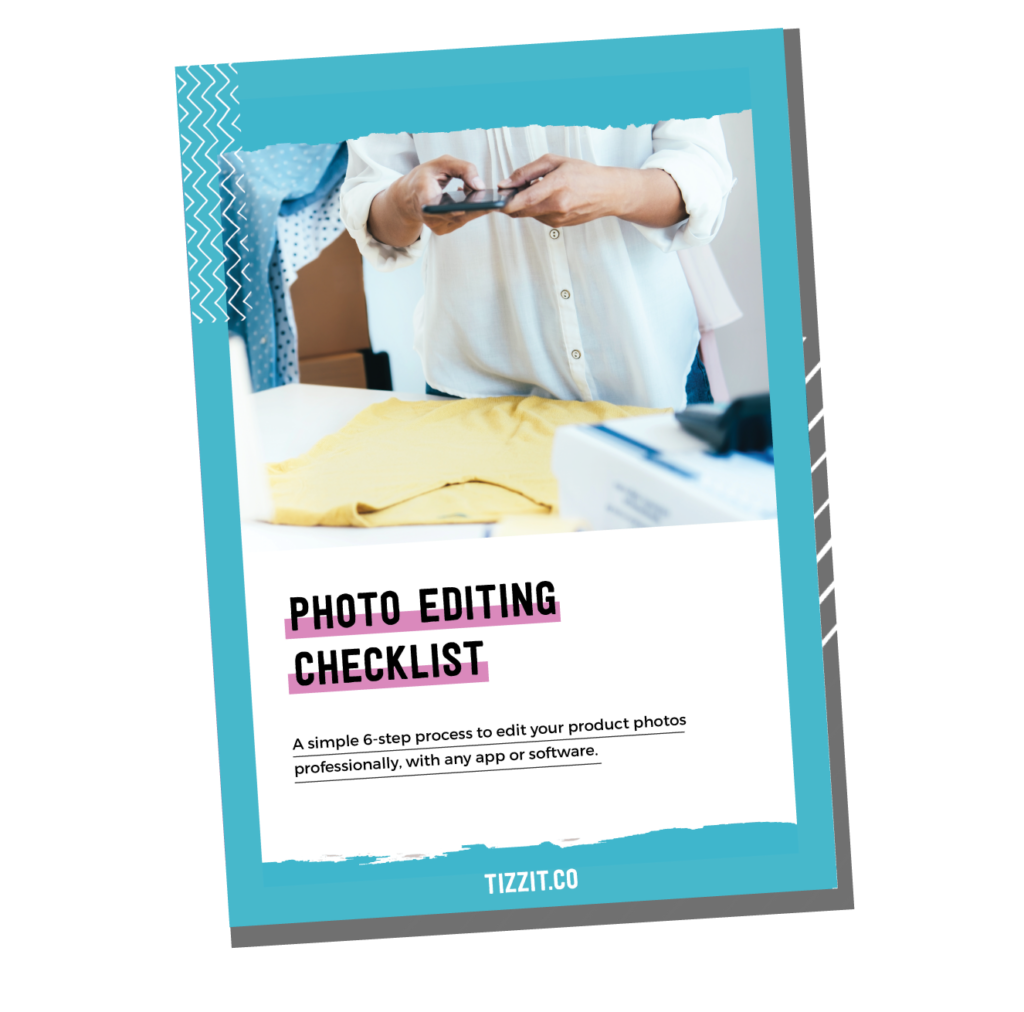
Get Instant Access to
this product photo editing checklist