


How to find the best Etsy keywords in 3 simple steps using Alura
If you want to be found in search results on Etsy, you need to optimize your product listing for SEO. And if you want to


If you want to be found in search results on Etsy, you need to optimize your product listing for SEO. And if you want to
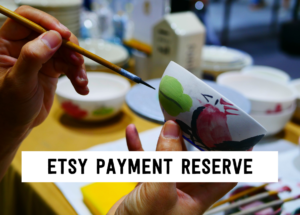
There has been a lot of talk in the Etsy community — and I mean A LOT of talk — about Etsy’s payment account reserve
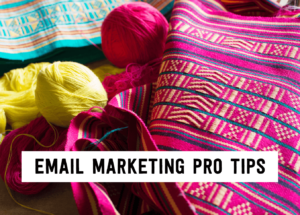
Anyone who knows me knows that I am a HUGE advocate for using email marketing to grow and scale your handmade business. But you may


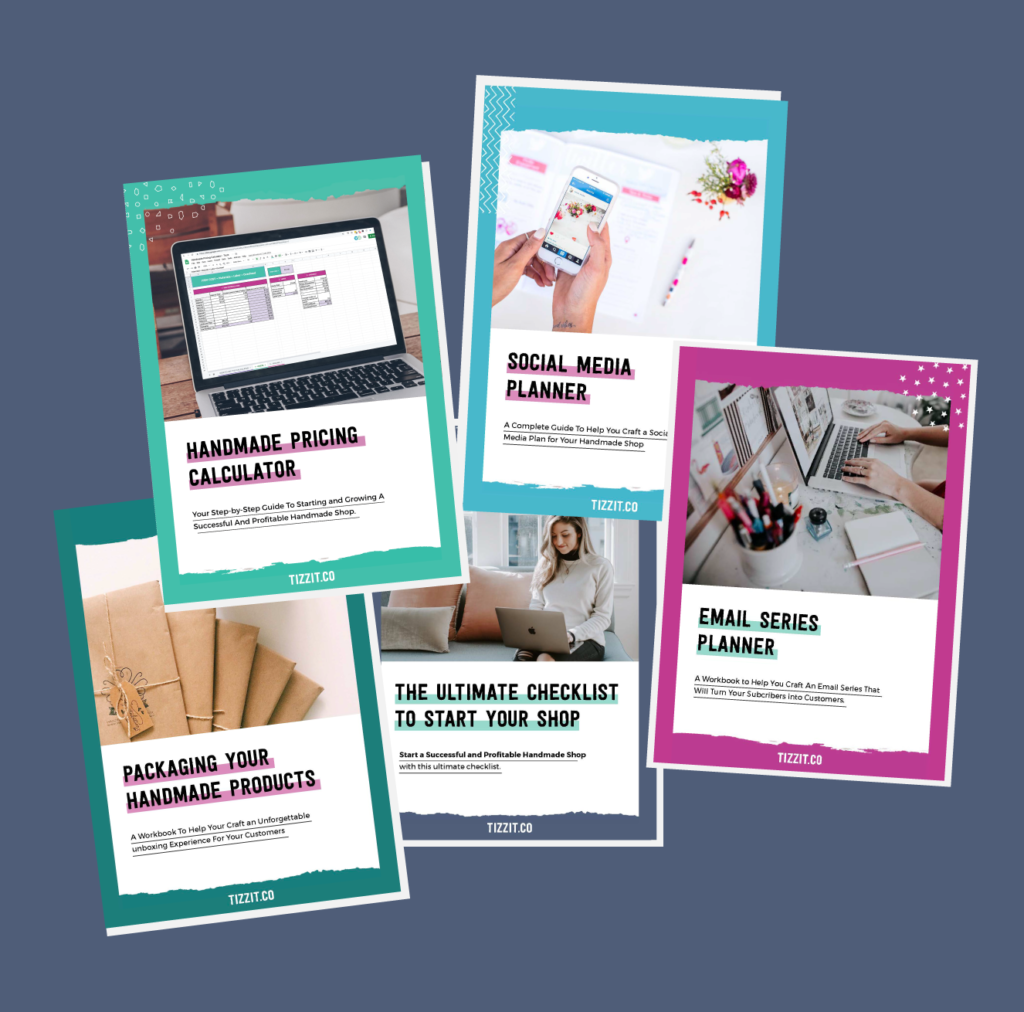
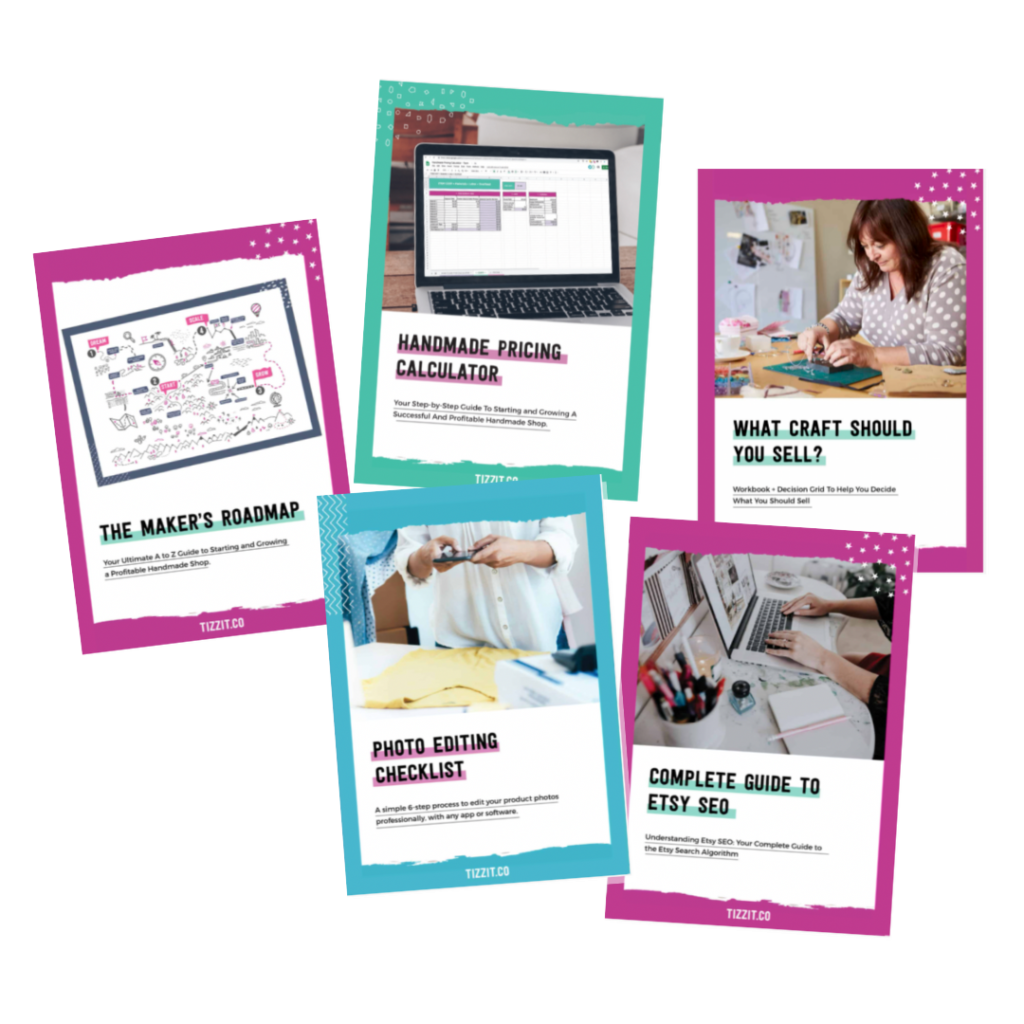
Sign up below and get instant access to a collection of FREE practical guides, workbooks, and checklists that will help you start, grow and profit from your handmade shop. (without pulling your hair out!).

4-step Maker’s Roadmap System
Library of In-Depth Courses and Training
Live Monthly Coaching Sessions
A Supportive Online Community


close
We hate spam too. Unsubscribe at any time.

close
We hate spam too. Unsubscribe at any time.
close
We hate spam too. Unsubscribe at any time.


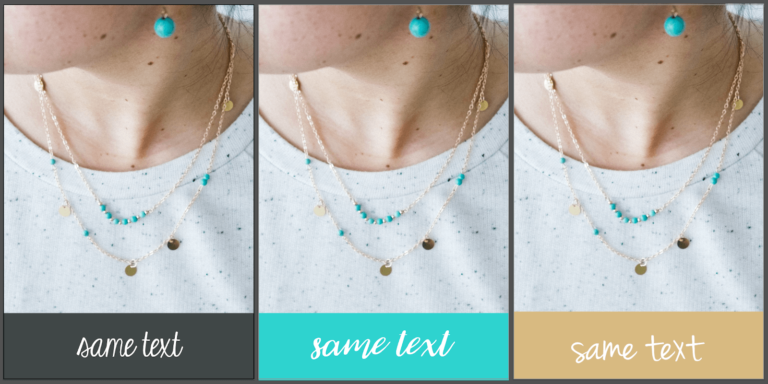
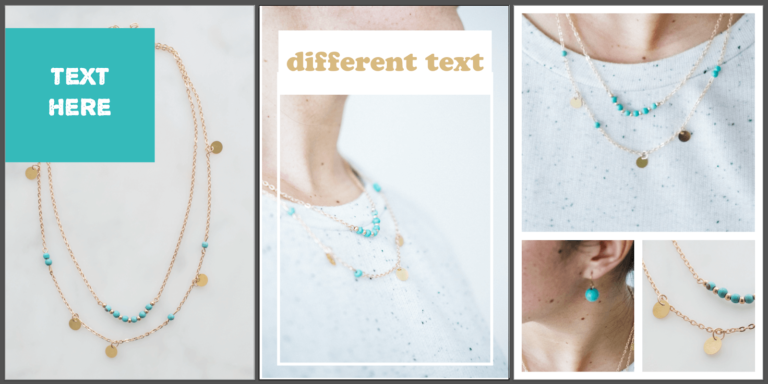
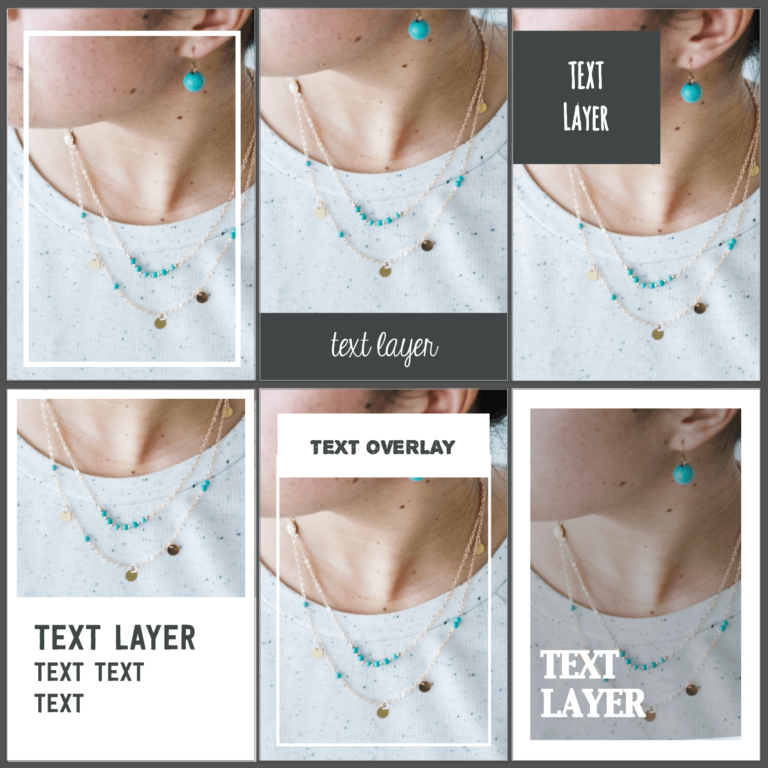
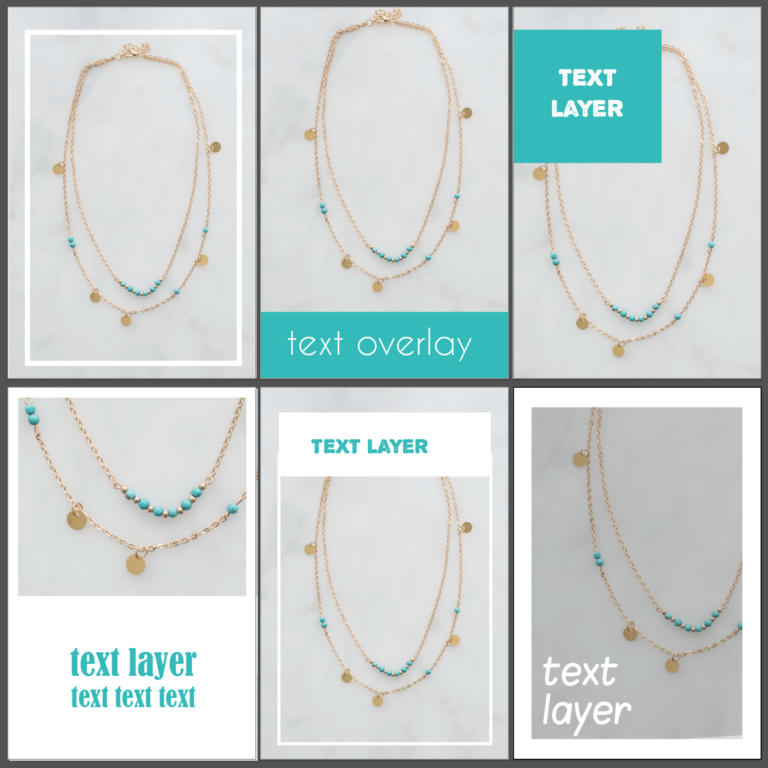
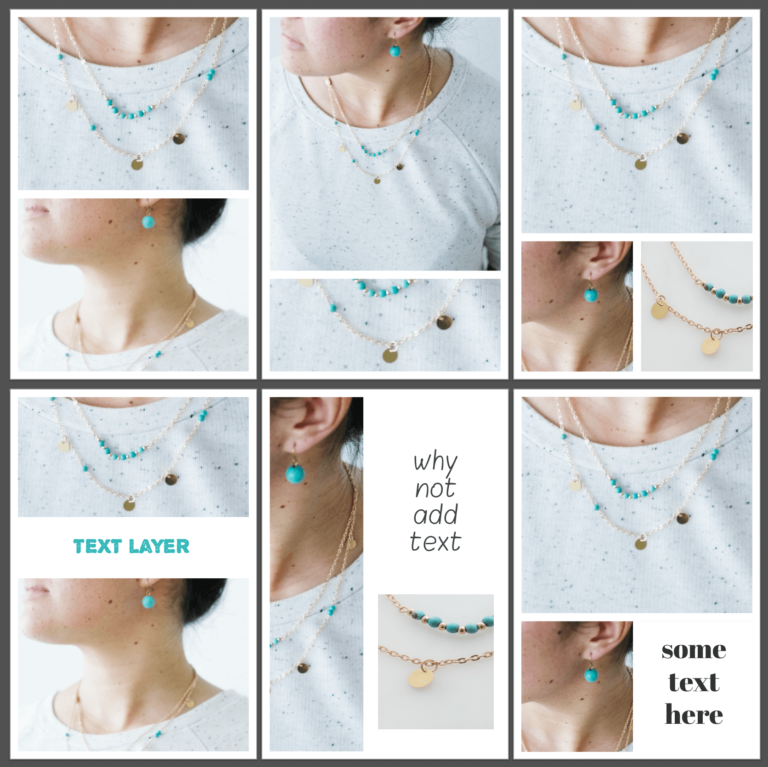
Thank you so much for this! Especially for including actual visual examples – very useful.
Better go make some more pins!
Thank you, Lisa! I’m glad it was helpful! 🙂