
How to find the best Etsy keywords in 3 simple steps using Alura
If you want to be found in search results on Etsy, you need to optimize your product listing for SEO. And if you want to
join
join
Do you want to launch an online shop and sell your products to the world?
That is of course VERY exciting, but I’m betting it may feel a bit overwhelming as well.
You probably have all sorts of questions swimming around in your head, like:
“Did I forget anything?”
and
“What do I even need ?”
There is a very unsettling feeling you can have when you’re trying to get ready to open your own online shop – like the feeling you get when you know you forgot something but you just can’t think of what it is.
The truth is, there is A LOT to remember when you’re creating your own website!
So – to make things simple, today we’re going to talk about all that needs to happen to start your successful online shop.
PLUS I’ve created a FREE checklist for you to download that has everything you need to remember! It contains all the key elements you need to have in place to launch and build a successful and profitable online shop.
So, ready? Let’s dive in.
When launching an online shop on your own website, there is a fair amount of planning you need to do and decisions you need to make. Let’s talk about each step of this preparation process.
[free] Grab the ultimate start a shop checklist!
This free checklist is a very complete step-by-step guide to help you go from idea to launch with your handmade shop!
One of the first things you need to think about is who your ideal customer is.
You probably expected the first item to be something like “pick a website platform” or “figure out your shipping costs”. Believe it or not, knowing WHO your ideal customer is actually far more important.
Your ideal customer is a representation of who your potential buyers are. It is a mix of demographics (are they women? men? 25 years old? 50+?, where do they live?, etc.) and psychographics (what they like, don’t like, are trying to accomplish, etc.).
Your ideal customer will shape your products and collections, your pricing, your marketing strategy, the look of your online shop, and much more.
Most importantly, it will help you know exactly how to reach out to your customers, how to market your products to them and how to position yourself in the marketplace.
So if you don’t have a clear image of WHO your ideal customer is, I do not recommend you start building your online store just yet — waiting until you’ve decided who your ideal customer is will avoid having to undo and redo things down the track.
To get started on this, download my free Ideal Customer Workbook.
Grab this free ideal customer workbook
This free ideal customer workbook, made specifically for handmade shop owners, will help you find and attract your ideal customers, so you can make more sales!
Next, you want to create a powerful mission statement for your online store.
A mission statement basically tells what your business does and why people should buy from you.
Writing it helps you clarify your goals and define what makes your business unique. Your mission statement also helps your customers identify your core values, which is a must if you want to have raving fans promoting your shop online and repeat customers coming back to buy more.
So before moving on, make sure you have a powerful mission statement for your business, plus a shorter version of it that you can use as a tagline for your shop.
If you need help, my article about crafting your mission statement includes a free workbook to download that will help you create it.
Once your mission statement is done, you need to create a basic visual identity.
You can work at building a better, stronger brand identity once your shop is up and running, but you do need to have some basics covered when you launch. This is so your shop visitors can recognize and remember you, but also to create a consistent and visually appealing experience for people browsing your shop.
If you don’t have a professional logo at this stage, don’t panic! That’s perfectly fine. You can simply pick a pretty font and type your shop’s name with it. It will work just fine for now. You simply need something for the navigation bar of your online shop.
Quick tip: Text-only logos are by far the best choice to keep things elegant and professional if you’re not a professional designer. They are also really quick and easy to create. Not mentioning free (or dirt cheap if you decide to pay for a font).
So don’t think that you need to have a pro designing your logo right now or that you need to spend hours doing it yourself. It does matter, but it can also wait.
The same goes for your color palette. You can make adjustments to it later but you will need a few colors to start building your store/website.
Pick a few colors and decide which one will be your accent color: the one you will use for your buttons, titles, call to action, etc.
Here’s an example:
I created this font using the free font “African.” It took me 10 minutes, and cost $0!
I have an article that tells you the 8 Steps to branding your handmade business as well as links for a free Brand Clarity Workbook, Branding Checklist, both which will help you communicate your brand story.
Grab this free handmade shop branding bundle!
SIGN UP BELOW TO GET ACCESS TO THIS BRANDING + PACKAGING BUNDLE MADE EXCLUSIVELY FOR HANDMADE ENTREPRENEURS LIKE YOU!
Now that you have your visual identity and your mission statement, you are ready to decide what products will be listed in your online store when it opens!
It doesn’t matter how many products you will have when you first open your shop. I’m sure you’ve read or heard people saying “you need at least 10!” “You need like 50!”. But that is entirely untrue.
It doesn’t matter how many products you have when you open your shop. Done is better than perfect, you can add some later.
Also, I find this would be a very different number for someone selling jewelry than for someone selling say… handmade dog beds. So let’s not care too much about the number of products you have listed, but rather make sure that:
If you want to learn more I have an article all about how to create product collections for your handmade shop!
Next it’s time to determine your pricing strategy.
This is a BIG one. Sooo very important.
If you want to launch and grow a profitable online store… you need to price for profit.
You don’t want to just throw a number down on paper because your competition is selling at that price, or because you’ve heard people say that’s what they would pay.
Make sure you get your cost calculations right and that you include:
You also need to decide on a profit rate that is fair for your customers and for yourself and a good reflection of your product’s value.
Please remember that you need to pay yourself for your work — do not fall into the trap of thinking that handmade means cheap. I have an article that talks all about pricing handmade products for profit, plus a handmade Pricing Calculator to help you do all the calculations.
Grab this free handmade pricing calculator!
use this “done for you” handmade pricing calculator to know exactly how much you should charge for your products.
Now let’s move on and talk about your product packaging. It’s important to use professional and appealing packaging, because for the most part, people judge a book by its cover.
Your product packaging is the first thing your customer will see, touch, and experience. It is part of the product value, even if it goes straight to the bin once opened. It is the difference between a happy customer and a delighted customer, and therefore crucial to make sure your customers will buy from you again and tell their friends about your beautiful brand.
You don’t have to go crazy with it at first and invest in designer packaging. If you’re just getting started you can do a lot with little effort and cost and show your customers that you’ve put some thought into it and that you care about the finishing touches.
Packaging can be quite fun to plan actually, and I’ve got a complete guide to creating custom packaging for your handmade products with lots of fun ideas.
This guide includes a free workbook that will help you create an unforgettable unboxing experience for your customers.
Grab this free handmade packaging guide!
This free packaging guide, make for handmade shop owners, will help you up your packaging game, so you can get more repeat customers.
The next step in starting your online shop is your product photography.
Before you start your online store, you want to make sure that all your product images look professional. You don’t need a lot of expensive equipment, but there is a learning curve and you must work through it because standards are higher these days and photos are what you are effectively selling.
So put the time in to learn the ins and outs of taking professional looking photos — you only need to learn how to do it once, so best to do it right away when starting your shop. The time it takes is very worthwhile because there is a direct impact on your sales.
When shopping online, people are – in a way – buying a picture. So you want your photos to be top-quality: you want them to really stand out and give a high-quality, accurate representation of your product.
I have a handmade product photography article that you will want to read for this step that walks you through how to take professional-looking photos for your handmade shop.
Grab this free product photo editing checklist!
follow this easy 6-step process to edit your handmade product photos like a pro.
You also want to spend time creating clear product descriptions and product titles for every product in your online shop.
You can read my article about 5 Tips To Write Handmade Product Descriptions That Actually Help You Make Sales to make sure your titles and descriptions encourage sales.
For example, in your description try to talk about the end benefits rather than the features. If you sell adjustable rings, don’t just say “adjustable ring,” instead say “This ring adjusts to fit comfortably on any finger. “
For your product titles, be sure they contain a few keywords and clearly describe what the product is.
For example, no one will know what a “Snowy Princess Blanket” is if they read that product title. They will have a much better idea, however, if you name it a “Pure Wool Baby Blanket,” plus that title will give your blanket a much better chance of showing up in search results.
Once your product titles and descriptions are done, you should prepare your “home” and “about” page content.
When you launch your online shop, you will need a bit of written copy for these key pages of your website. If you write it up in advance it will be much easier to put your website and online shop together.
Having a powerful mission statement and a clear vision of what your business does and stands for will make this much easier, which is why I have you do that as one of the very first things you do to get ready to open your online shop.
If you haven’t done it yet, grab your Get Brand Clarity Workbook — it will help you come up with a vision and story for your brand and will make writing content for your shop much easier.
Grab this free branding workbook!
This free branding workbook will help you get brand clarity so you can attract the right customers to your shop, make more sales, and talk about your products confidently.
You also need to write a privacy policy, terms and conditions, and a return policy.
I know I know – boring. But sadly it’s a must.
Each country has different laws, so you want to check to make sure that you have at least the legal pages required by law on your site.
Shopify has a great return policy, privacy policy, and terms and conditions generator that you can use on their site! It’s worth checking out.
This might sound really obvious, but you really want to make it super easy for customers to contact you — you don’t want to have some obscure thing they need to do to contact you or they could easily become frustrated.
One idea would be to have a little widget for people to contact you on your website – like the little widgets you see in the bottom right corner of your screen on many shopping websites.
You also want to think through what contact information you will have on your website. Will you have a phone number for customer service, or a simple email address? A form on your website? A live chat?
What about retailers (if you have any)? What’s the best way for them to contact you?
Also try to prepare in advance for potential customer service questions you might get, both so you can answer them on your site BEFORE anyone asks, but also so you’re ready to answer them IF someone does ask.
You need to make sure you are doing everything you can to help and assist your customers from the beginning to the end of their shopping experience, because delighting your customers and going out of your way to make them feel special is the best way to build loyalty and trust.
Now you are ready to choose what platform you will use to sell your handmade products and build your store.
This is what will turn your website into an e-commerce site. There are plenty of options out there that you can choose from. I won’t go into the specifics of each platform in this article but here are the two main options I would consider: Shopify and WordPress + WooCommerce.
Here is my advice: look into both, pick one, and don’t look back — they’re both solid choices.
If you don’t even want to think, go with Shopify. That would be my choice (even though I love WordPress) just because they are focused on e-commerce and do it well, they have less maintenance, and they integrate well with a variety of social media platforms and apps.
I explore these options in detail in my article about Shopify vs. WordPress for your online store.
Next you will choose details like your domain name, host, and email address.
I know . . . booooring. Ok, yeah, it’s not the most fun but you also can’t start an online store without these things.
Grab a domain name + a hosting plan for your website, and make sure you set up a professional email address too.
For your email, you want to be sure to use an email that consists of
yourname@yourdomainname.com
rather than just using an address like
myshopname@gmail.com
— it’s 100X more professional!
If you are using WordPress for your website, you will need to buy your own hosting. Most hosting providers will give you a domain name for free, and have email hosting included in their plans.
My personal favorite: Siteground (this is not an affiliate link). They offer great value and great customer service at a very affordable price point.
If you go with Shopify, then the hosting is included in your plan and you can grab your domain name directly with them too. They don’t offer email hosting but you can still set up your email address to redirect to a gmail account for example.
If things like domain, host, email, etc. all feel confusing and you don’t know what is what and what does what, my article about How To Get Your Handmade Craft Website Set Up explains them in more practical detail.
Next it’s time to decide how you will accept payments on your website – in other words, a payment gateway.
Here again, I won’t go into the details of all the different options available but here are a few key points:
You also need to decide how your shipping will work. Here are some important questions you’ll want to think through:
Once you have decided on your shipping options (and you learn how to account for shipping and fees in your prices), you are ready to work on your site design.
The first detail of your site design is deciding if you will use a premade theme or hire a designer.
If you’re just starting out, I honestly recommend you use a premade theme. Both Shopify and Woocommerce have really pretty, well designed templates that you can set up quickly.
Some are free and some are paid but it still is much cheaper than hiring a professional designer. You can customize these templates to suit your brand so don’t worry about looking like another store, you won’t!
Pick one, and start with that. You can always adjust your design later on. Remember, once again: done is better than perfect!
You also need to decide if you need help keeping the website up to date, and who you will ask if you need help.
Having an online store requires some maintenance. If you’re not comfortable with the tech side of a website – things like updating software and apps and plugins – or if you simply don’t have the time to do it, then you can hire someone to take care of those things for you.
Now that you have worked through all these details for your new online shop, you are ready to write your marketing plan — which is basically planning how you plan to bring traffic to your website and turn your visitors into customers.
I have a great article about 8 ways to get traffic to your handmade shop that you will want to read to get ideas for your marketing plan.
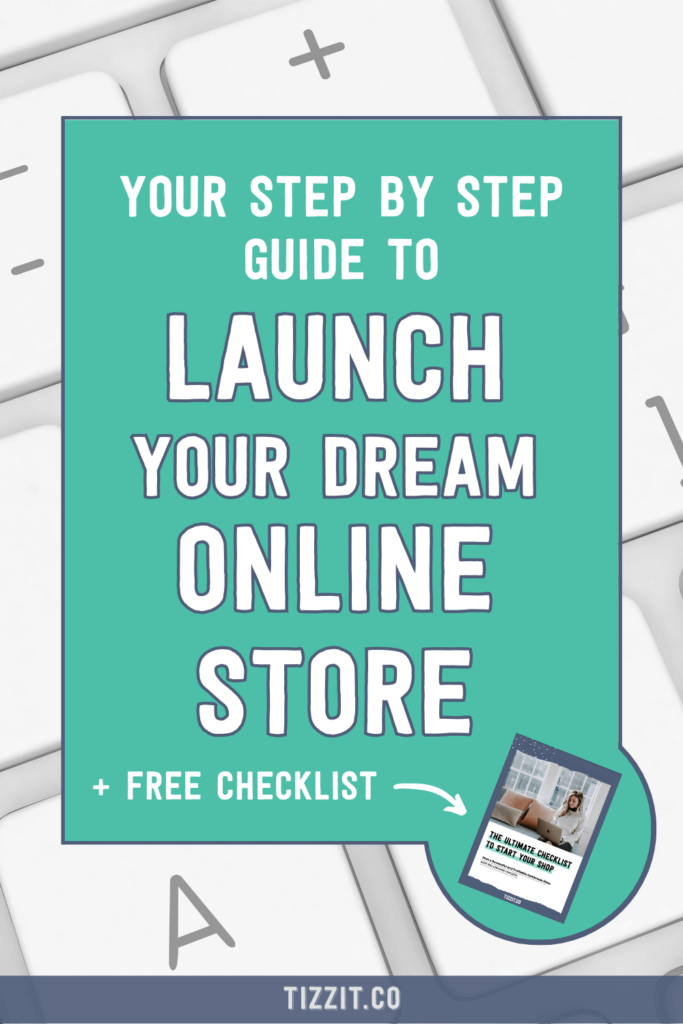
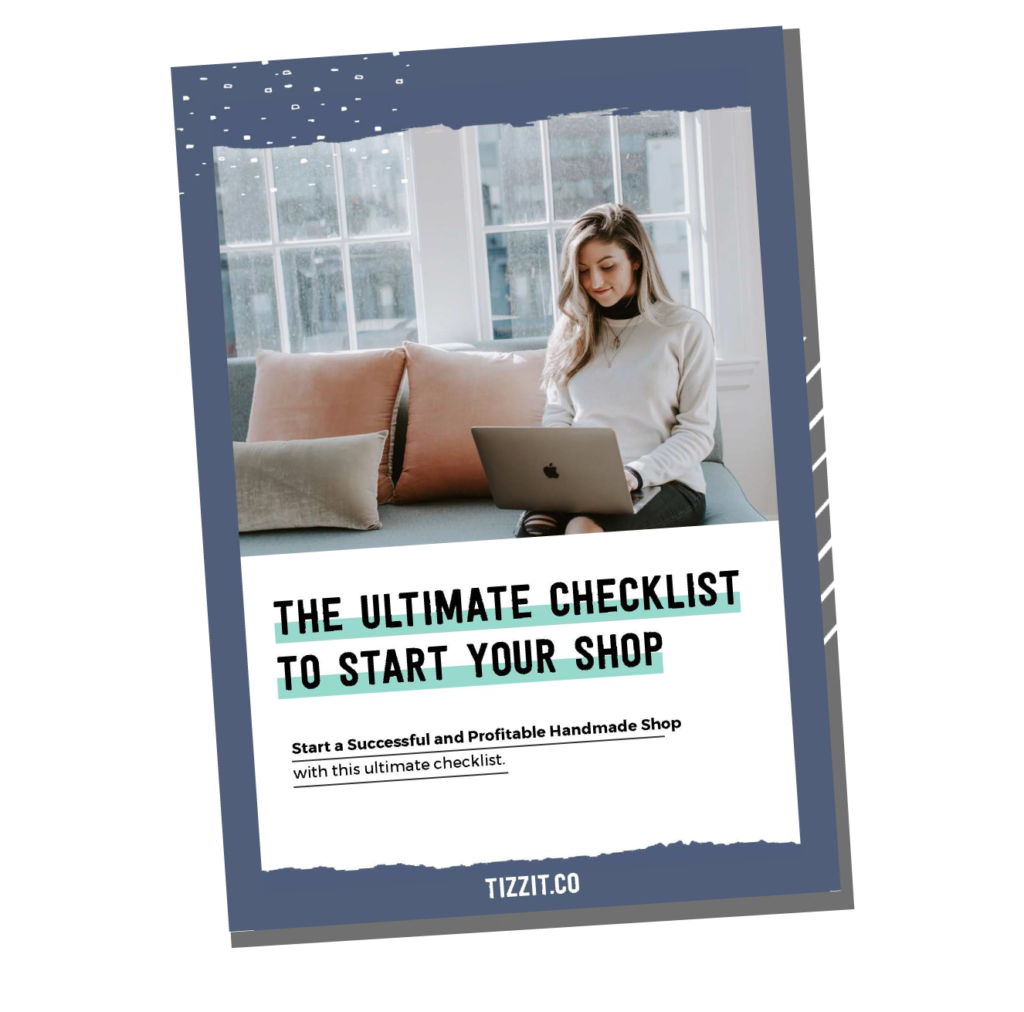
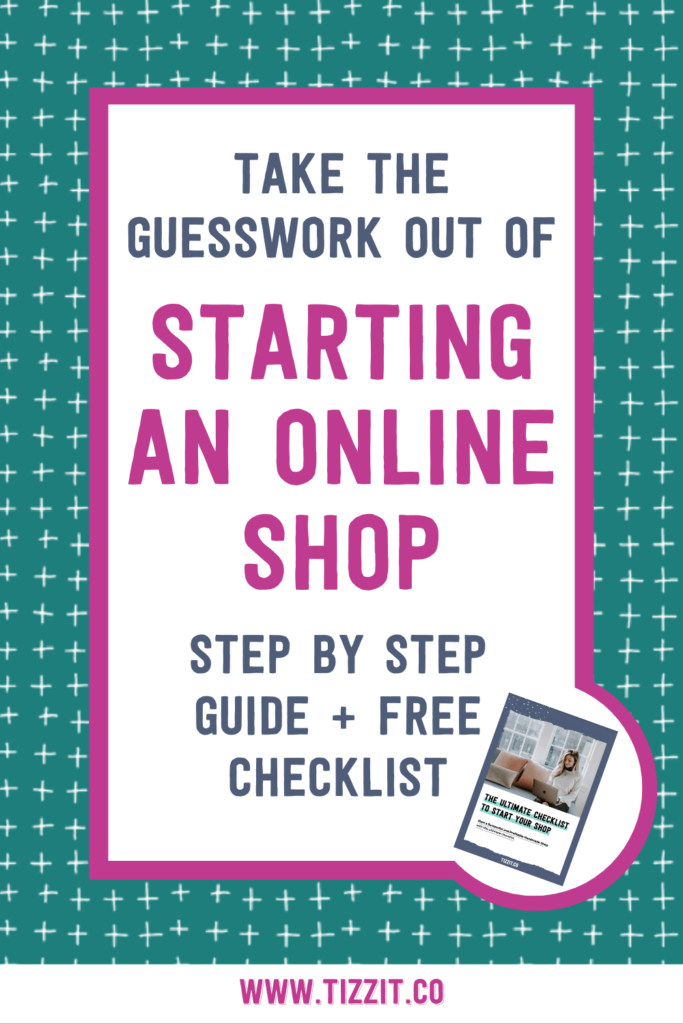
Congrats — you made it! You’re probably tired and so happy that you finally reached the end of this checklist. You are about to start your online shop and you’ve got everything you need for it to be a successful one. That’s awesome!
I hope this checklist helped you see a bit more clearly what key elements you need to have in place and/or figured out if you are about to start an online shop.
Don’t forget that you can download this checklist, and if you need any help at all, feel free to ask me anything in the comments!
[free] Grab the ultimate start a shop checklist!
This free checklist is a very complete step-by-step guide to help you go from idea to launch with your handmade shop!
Thanks for reading and until next time, aurevoir!
you might also like…
related articles
If you want to be found in search results on Etsy, you need to optimize your product listing for SEO. And if you want to
There has been a lot of talk in the Etsy community — and I mean A LOT of talk — about Etsy’s payment account reserve
Anyone who knows me knows that I am a HUGE advocate for using email marketing to grow and scale your handmade business. But you may
disclaimer
subscribe to youtube
THE LAUNCHPAD
get in touch
We acknowledge and give thanks to the Budawang and Yuin people, the Traditional Owners of the land we work and live on. We pay our respects to all Aboriginal and Torres Strait Islander Peoples and elders past, present and emerging.
Get Instant Access to
The FULL Resource library
the ultimate
start a shop checklist
find your ideal customers with this free workbook
download this complete
shop branding kit
Get Instant Access to The pricing calculator
Get this free packaging handmade workbook
Get Instant Access to
this product photo editing checklist
Get brand clarity with
this free workbook
It’s a pity you don’t have a donate button! I’d most certainly
donate to this superb blog! I suppose for now i’ll settle for
book-marking and adding your RSS feed to my Google account.
I look forward to new updates and will talk about this website with my Facebook group.
Chat soon!
Thanks for the great article, really helpful.
In the tax+accounting section I think that you’ve got a copy/paste error in the title question
Thanks! I’ll take a look at that mistake too 🙂
I am do impressed by this post! So much useful information. Thank you!
I started on one post and found myself reading through at least three others. They are so detailed and very helpful.
Thank you
I am so glad they are helping! Thank you for being here and taking the time to let me know you’re enjoying the blog 🙂